Name in lights
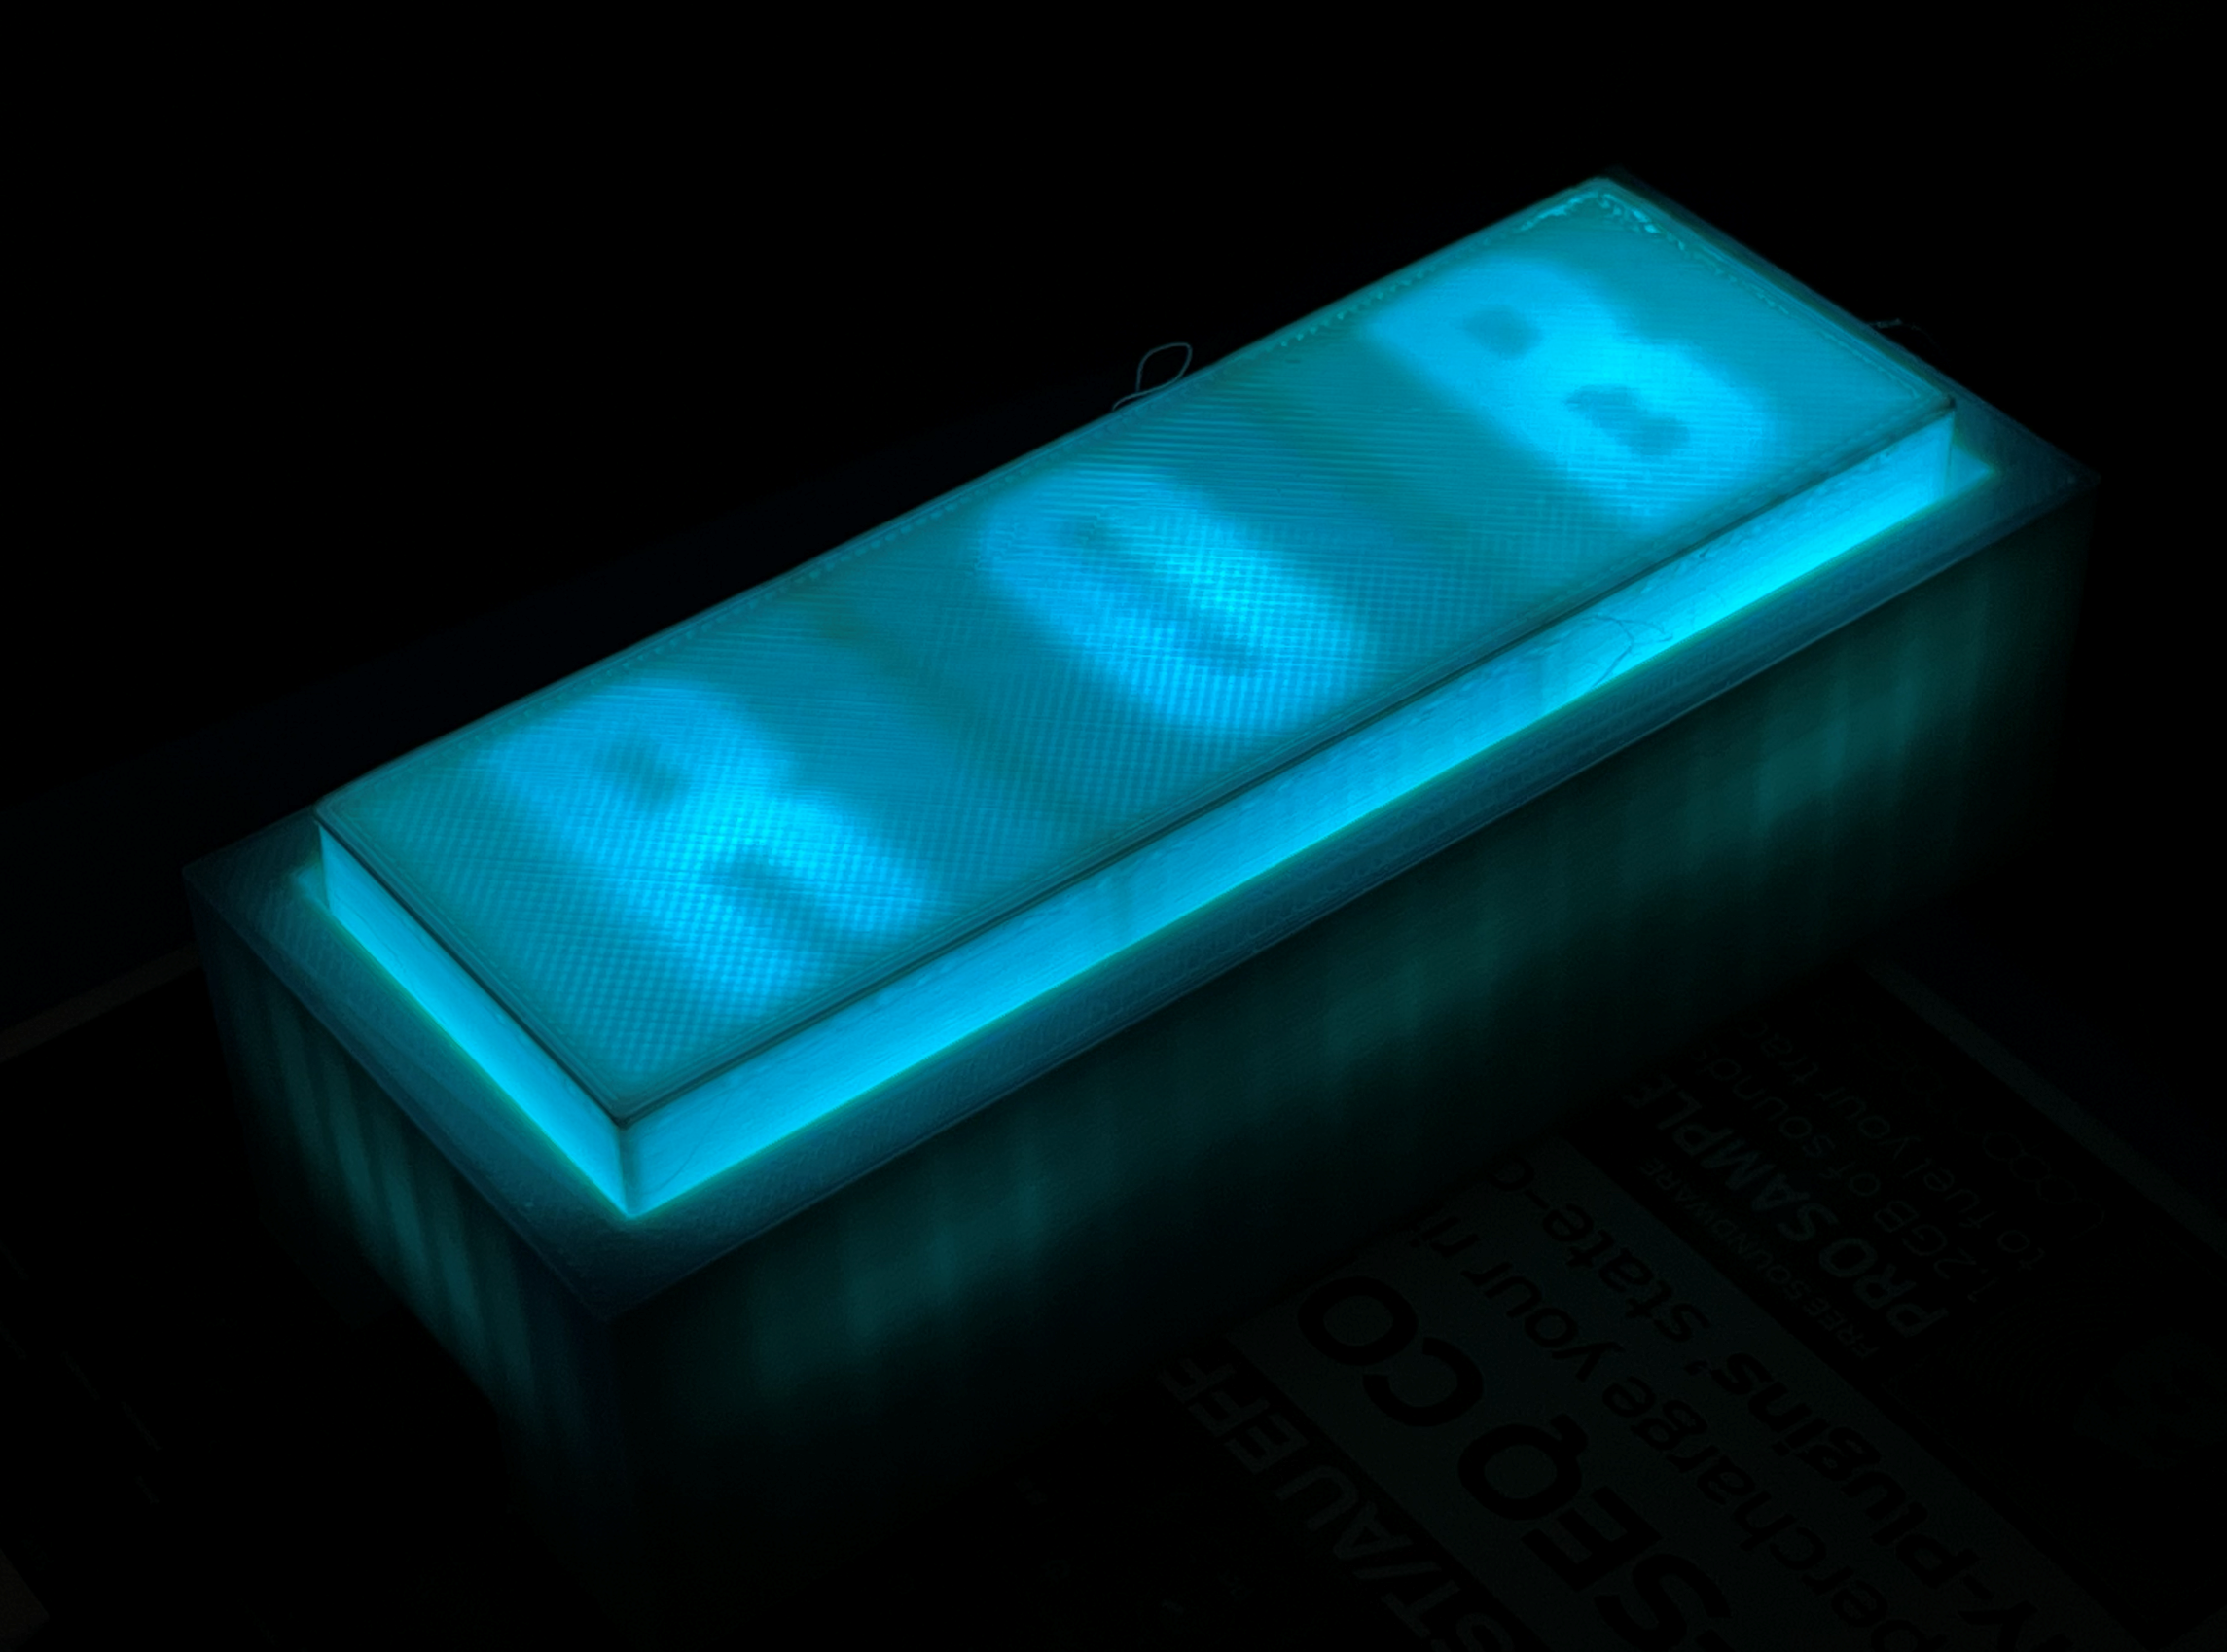
A Name In Lights box is a custom made enclosure and front panel that can put your name, or any word you fancy, in lights. The box can contain one or more rows of panels each of which is lit by a single NeoPixel. The boxes and front panels are designed to be 3D printed and then glued together. The current designs use a Wemos D1 Mini device to control the lights. You can set the colour of each light individually, or you can set the colour of the entire light with a single command.
You can set the colours to a random set of colours which move over the lights to give a pleasing effect. You can also create timed events to change the colour and pattern on the lights. If you have more than one Connected Little Box you can change the colour and pattern on the lights from another box.
Getting started
You can follow the Getting Started instructions here to load the latest version of the Connected Little Boxes software onto your machine and set it up.
When the light starts up it will display a pattern of red and green blocks as each of the interal services start up. Then it will display moving red, green and blue lights that travel across the pixels at different speeds, overlapping and mixing their colours as they do.
You use the Simpleterm program to configure your lights. Make sure that the light unit is plugged into your PC before you start. Then Click the button below to create a Simpleterm tab in your browser.
Then click the Connect button in Simpleterm and select the USB connection for your light.
Setting the pixel size of your light
If you want the light to display properly you will have to configure the width and height of the pixel display. There are two settings that determine the width and height of a light:
noofxpixels=12
noofypixels=1
You can use these commands in Simpleterm to set the width and height of your light.
Things to try
When the light starts running it displays random 'walking' colours. You can use commands to set what the light does:
Set the light colour
{"process":"pixels","command":"setnamedcolour","colourname":"red"}
This command sets the light red.
Make the light twinkle random colours
{"process":"pixels","command":"twinkle"}
This command sets each pixel to a random colour. If the pixels are 'walking' they will appear to twinkle.
Make the light show a coloured patten
{"process":"pixels","command":"pattern","pattern":"mask","colourmask":"RB"}
This command puts a colour mask onto the pixels. The mask is specified as a string with each letter identifiying the required colour. The command above would display alternate red and blue lights. Note that this command turns off the 'walking' behaviour. If you want the colours to 'walk' you can select the walking pattern:
{"process":"pixels","command":"pattern","pattern":"walking","colourmask":"RB"}
Going further
There are lots of other features which you can add to your lights. You can find a complete user manual for all the commands you can use with your Connected Little Box here.
Store commands
You can store commands in a light which are performed when a light first starts running. This means that you can make a light remember the settings that it has. Take a look at 'Command Stores' in the manual
Timed events
If you connect your light to the internet you can add timed behaviours that can make the light change colour or pattern at different times of day. Take a look at the 'Clock Sensor' section in the manual.
Remote control
If you configure an MQTT connection for your box it can send messages to other boxes and receive messages from them. So you could make the light go red when someone approaches your front door or when the temperature gets too high.